How to use Hotspots in the Showroom CMS
About this article
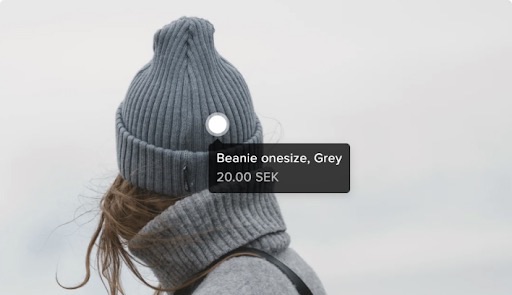
This feature allows you to place shoppable Hotspots on your media and assign a specific product to each Hotspot. Hotspots give your buyers extended information about what style/product the model is wearing, and is a powerful tool for driving conversion. By clicking on the shoppable Hotspots in the image, they can navigate to the product and directly place an order for it.
How to add Hotspots
To start using Hotspots, you’ll need to create a CMS page in the Showroom, here is a guide you can follow to do so.
-
Create a content block with an image
-
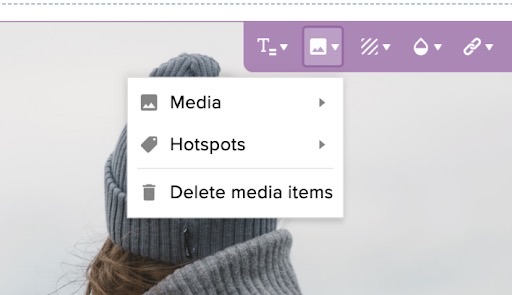
Click on the icon in the content block toolbar, click ‘Hotspots’ and then click ‘Add Hotspots’ to add a Hotspot to your image
-
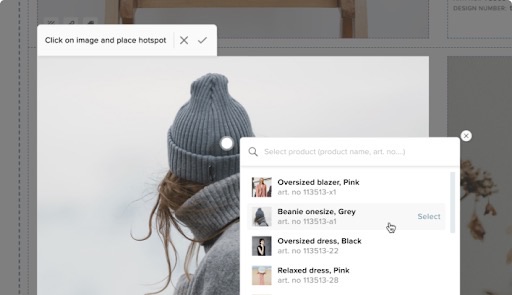
Click anywhere on the image to place the Hotspot
-
Select a product from the list to be assigned to it.
The products you wish to choose must be available in all of the markets set on the page section and available in at least one delivery window active for all the markets set on the page section.
-
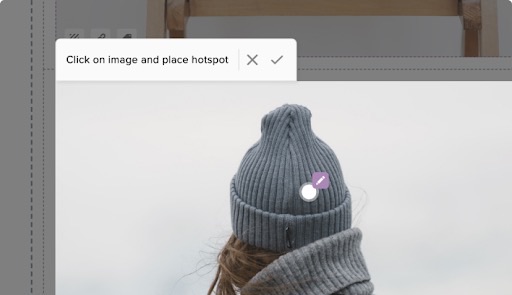
If you want to change the placement of the Hotspot, you can easily move it by dragging the white “Hotspot dot” and drop the pin somewhere else on the image
-
You can easily edit, change or delete the product connected to the Hotspot by clicking on the “pen” icon next to the dot
-
Remember to save your changes once the Hotspots are placed where you want them. Finally, publish your page and enjoy your shoppable Hotspots in the CMS pages
 There might be a situation in which the product that was added to a Hotspot gets removed or deactivated in Centra – or gets assigned to a different market and which would make it invisible to the end-user browsing the CMS page. In these cases, you’ll be notified about the error on the CMS page.
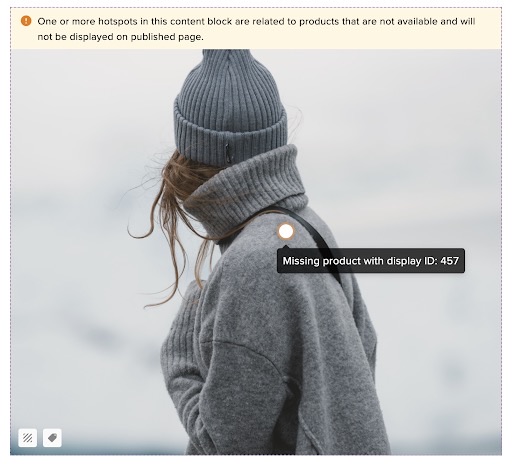 If you for some reason resize or crop your image after you’ve added Hotspots and the Hotspot then appears outside of the content block. The following error message will show on the CMS page.
