How to translate your Pages in Showroom
About this article
Retailers value a personal, local touch. In order to amplify cross-border selling and help brands that want to enter a market where English is not the default language, it’s important to enable shopping in that market’s language. On top of English, Showroom is currently available in:
- Danish
- German
- Spanish
- French
- Italian
- Japanese
- Norwegian
- Swedish
- Chinese
To enable full experience in a given language, you can:
- Translate your Products (you can use the AI Content studio, see how)
- Customize the translation of some elements of the user interface, see how
- Translate Pages (read how in this article).
Showroom Pages should expose special collections, additional visuals, tutorials and other significant information in the language of all your target markets.
How to translate your Pages in Showroom
Centra provides an easy and flexible solution for translating the content of Pages from English into multiple languages. Translate all the textual content on all Showroom Pages so that the Showroom end-user can browse the entire service in their preferred language and have a unified experience. You can choose if you prefer to do it manually or using our AI translations.
Setting Page languages
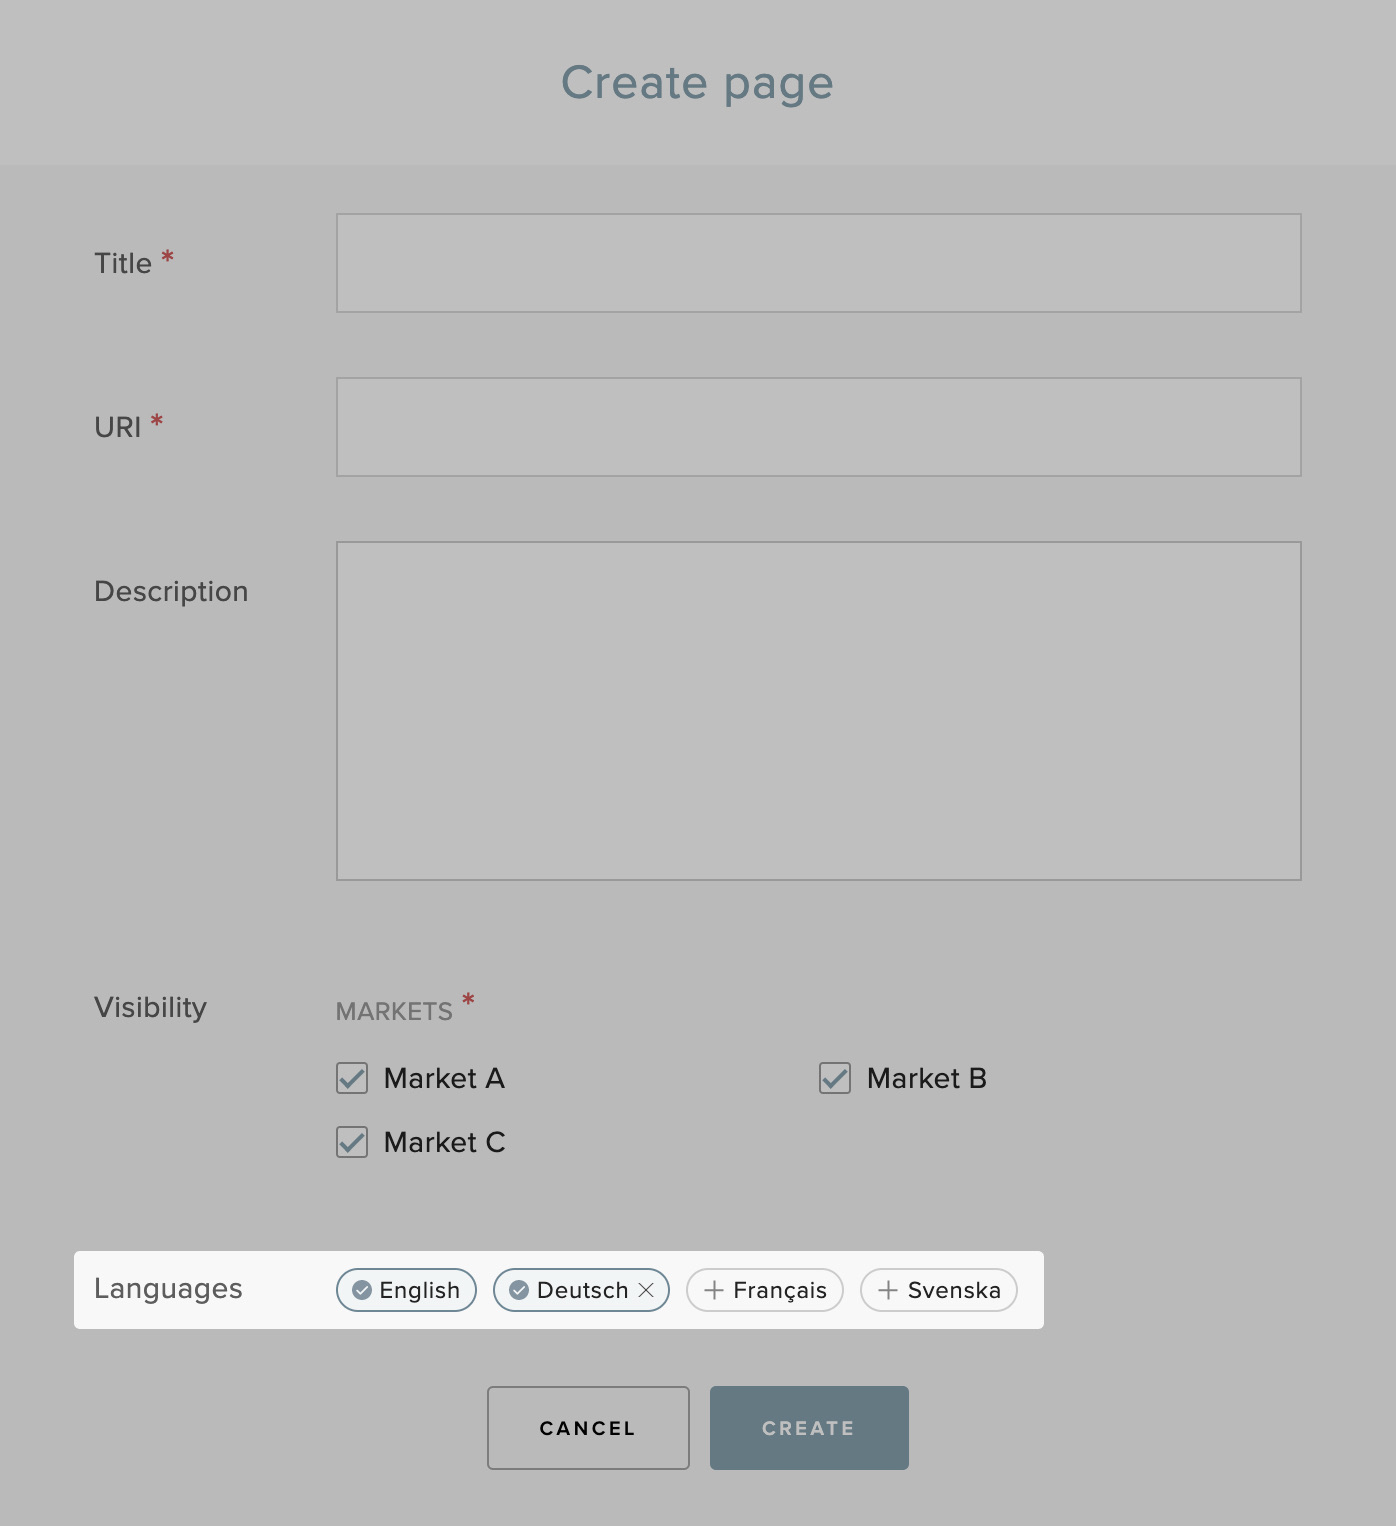
When creating a new Page, you can mark languages that should be available in the Languages section.
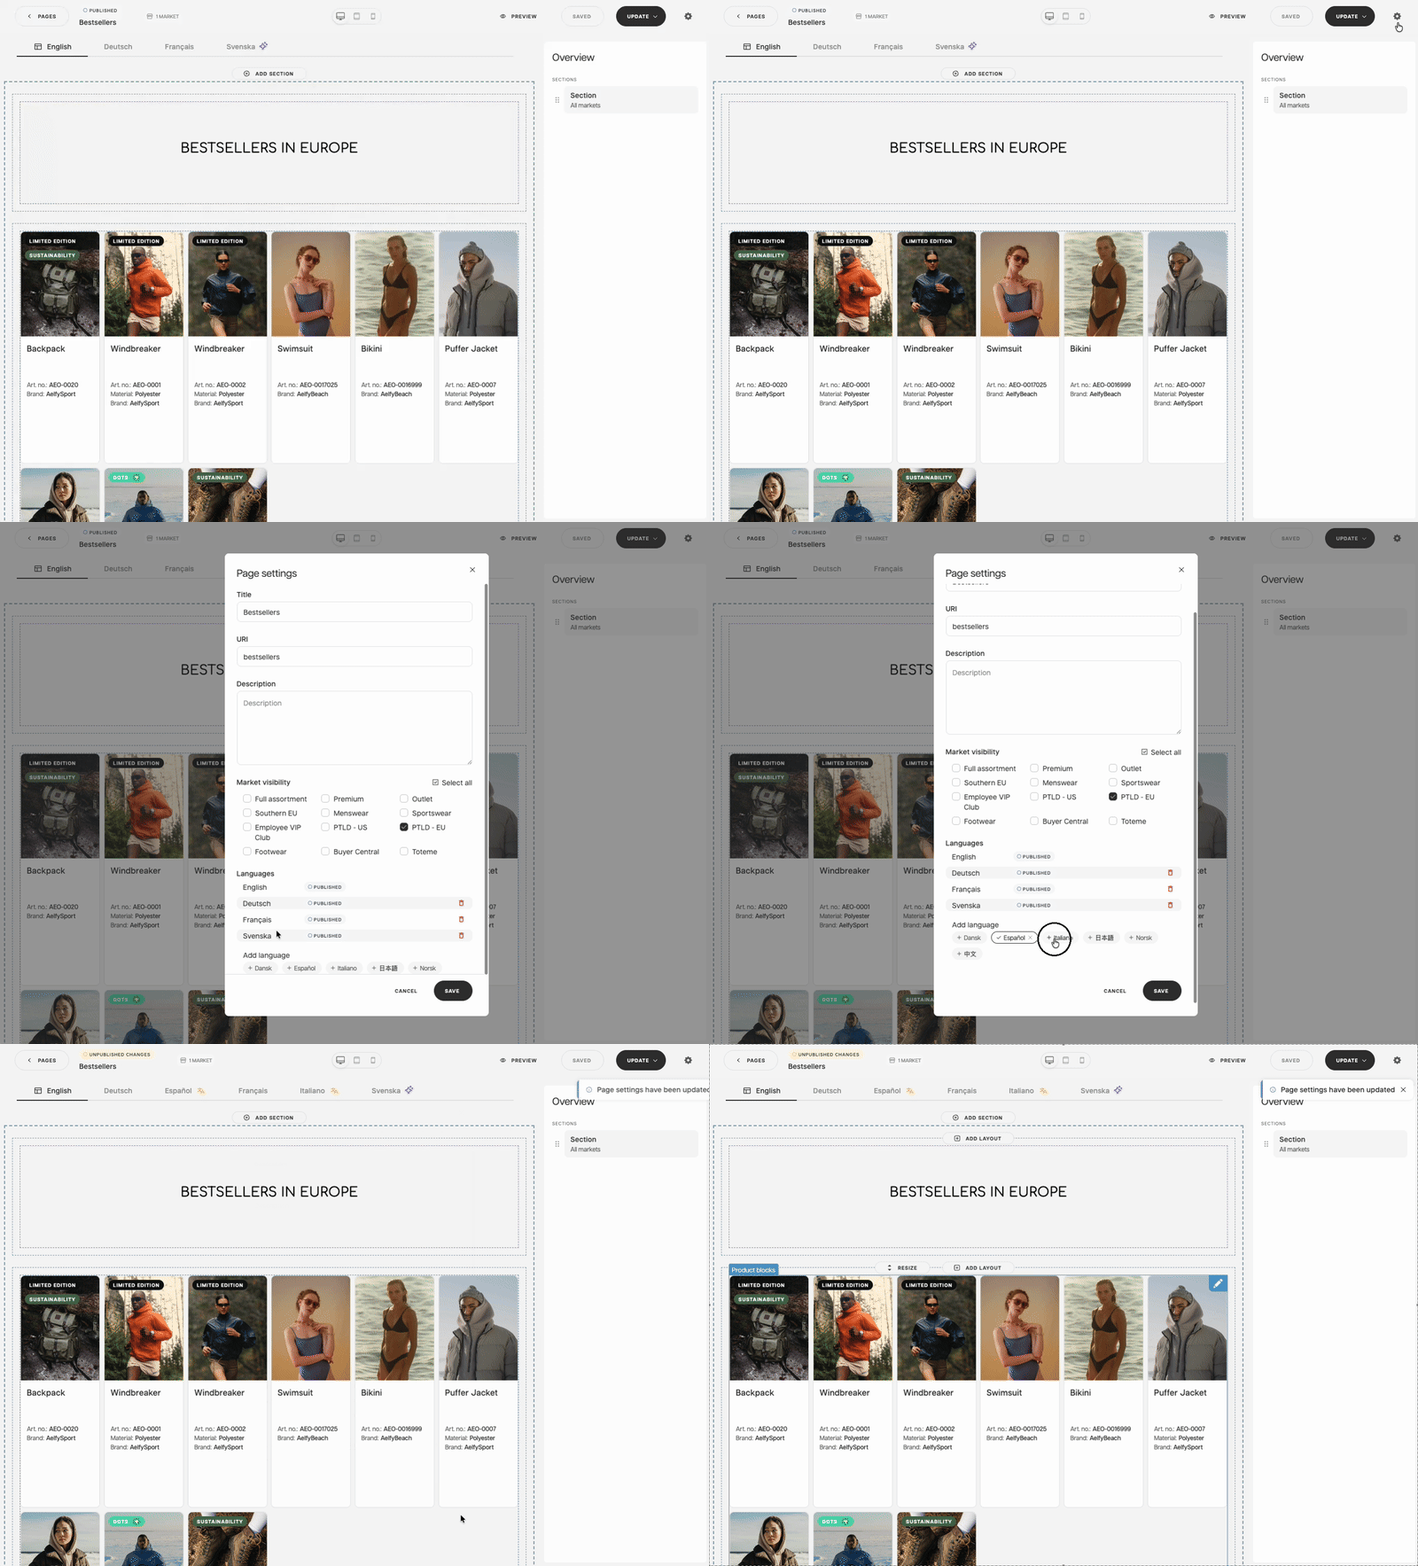
For already existing Pages you can add new languages as well as remove unnecessary ones in the Page settings pop-up of the respective Page. Any modifications to the languages will be applied after clicking the 'Save' button as shown below:
Available languages
All of the languages below can be used for translations when creating or editing Pages that are displayed:
- English (default & mandatory)
- Danish / Dansk
- German / Deutsch
- Spanish / Español
- French / Français
- Italian / Italiano
- Japanese / 日本語
- Norwegian / Norsk
- Swedish / Svenska
- Chinese / 中文
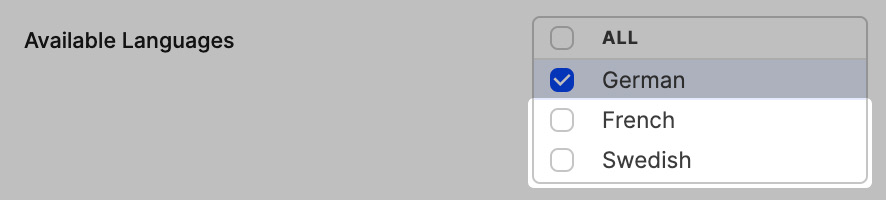
This means that even if a language is not selected in the ‘Available Languages’ setting in the Showroom plugin, it will still come up in the Showroom Pages and can be used for translations. This is useful when you want to prepare all of the translations for your Showroom Pages before enabling the language switching function for the end-user.
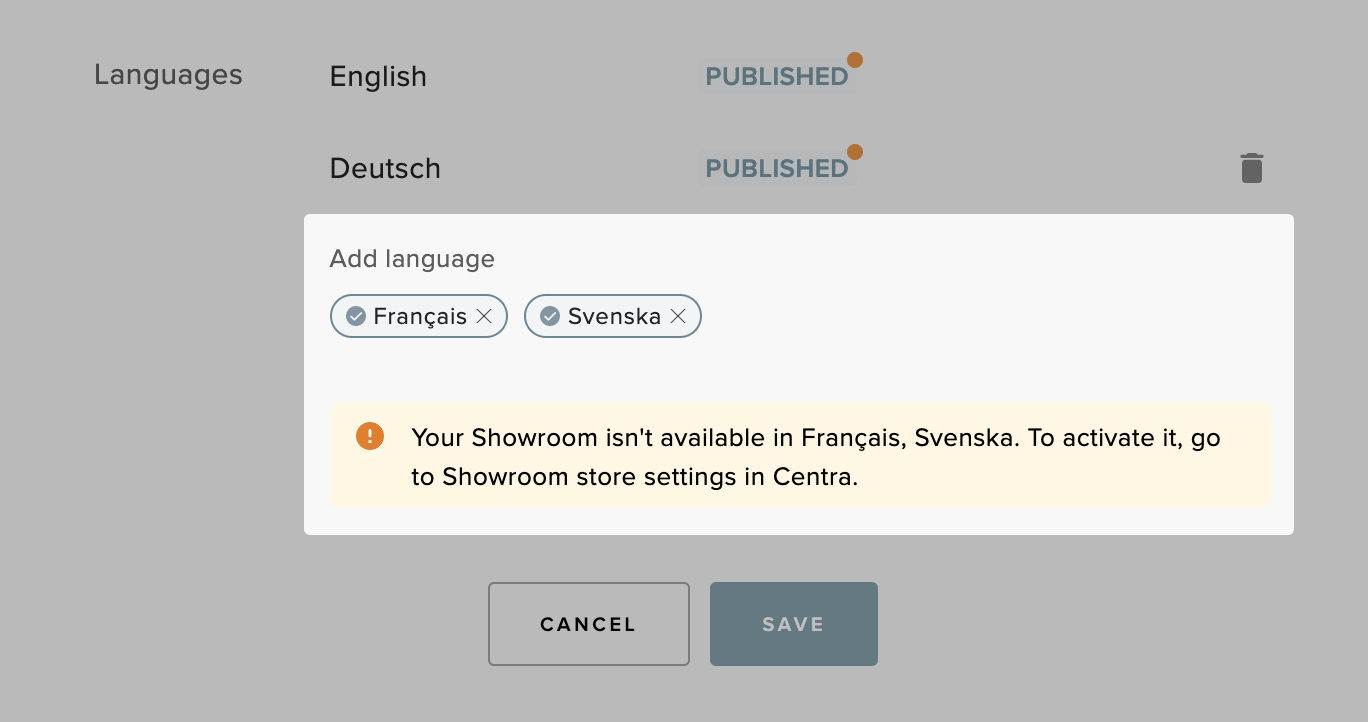
Page editor in multiple languages
When more than one language is selected, the Page Editor displays the language tabs above the Page sections.

By clicking on the tabs, you can switch between default language and translation languages, where it’s possible to modify selected parts of already added blocks.
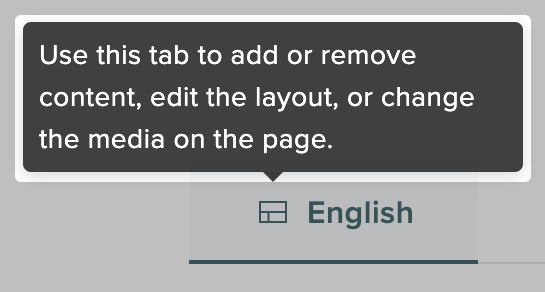
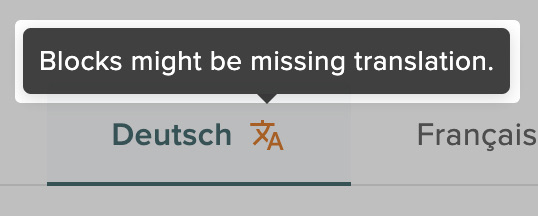
The first tab is always the default language. It’s marked with the layout icon to inform you that the Page layout can be modified in this tab. The subsequent tabs are the translation languages displayed in alphabetical order. When a language is missing translations on any of the translatable elements, a warning icon is displayed next to the name of the language.
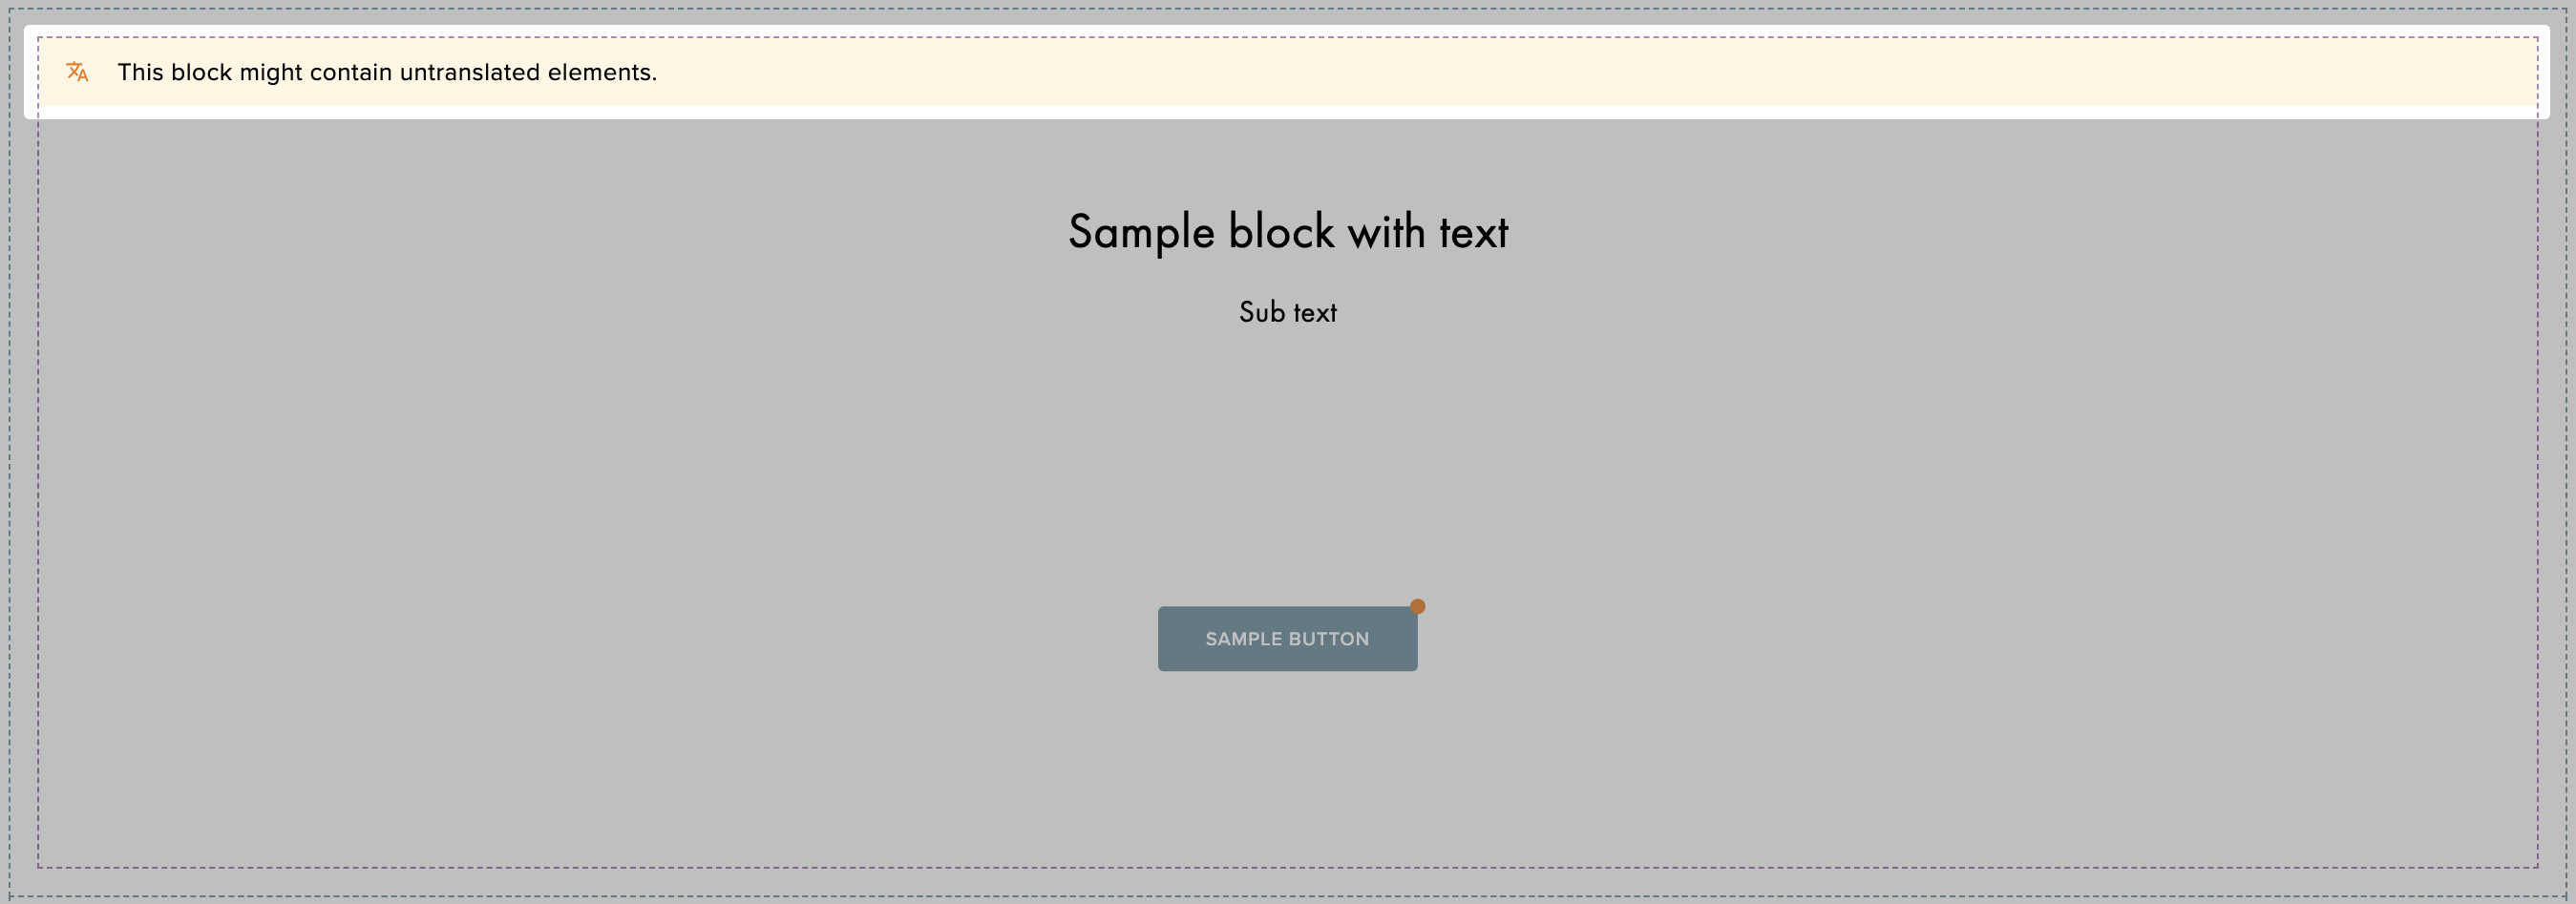
A warning is also displayed on block level for every block that is missing translation for any of its content.
Translating pages
To add a translation to a page, you must first switch to the target language. The editor then goes into the translation mode, which limits the functionality to only modifying the content of existing text, buttons, and links (in buttons or on whole blocks). Adding translated content works the same way as regular Page editing.
-
To let you know that the layout editing is disabled in this mode, a warning is displayed below the editor top bar.

The content for additional languages will initially be the same as the content of the default language. It will be automatically synced until you modify the content in the additional language.
There are a couple of ways in which you can approach translating each page:
- Translate the whole page with AI
- Mix: translate some parts with AI, some manually
- Translate every text part manually
Translate the whole page with AI
Leverage built-in AI translation to automatically translate content on Showroom Pages, saving time while ensuring consistency. This feature applies the master prompt from your AI Content Studio, incorporating your Guidelines and Glossary rules into CMS Pages translations as well.
Using your Glossary
If a Glossary is set up in AI Content Studio, Page translations automatically follow it. A Glossary lets you lock in the translation of specific terms — brand names, product line names, or industry terms like "Line Sheet" or "Stock Service" — so the AI translates them the same way every time, instead of rendering the same term differently in two places on the same page.

Only Global and Language guidelines apply to Page translations.
CMS pages AI translation using the master prompt from the AI content studio are currently free to use. Usage limits may apply in the future — should your usage needs exceed those limits, additional capacity will be available through AI Content Studio.
To translate a page:
- Navigate to Showroom > Pages.
- Open the page you want to translate.
- Click the tab for the target language.
- In the top right corner click a button “Translate page with AI”. This translates all translatable content across the entire page.
Page translation workflows
When you click Translate page with AI, the system prompts you based on the current translation status of the page:
| Page status | User decision needed (a modal pops up) | System Behavior |
|---|---|---|
| No blocks translated | None | Translates all blocks immediately and applies the Translated with AI badge. |
| Some blocks already translated (manually or with AI) | •Translate • Retranslate all • Cancel |
Translate: Translates only blocks labeled as “Needs translation”. Retains manual translations. Doesn’t use unnecessary tokens. Retranslate all: Overwrites all blocks with new AI translations, including those previously translated with AI or manually. |
| All translated (includes manual translation) | • Retranslate all • Cancel |
Overwrites all manual and AI-translated blocks with new AI translations. |
| All translated with AI | • Retranslate all • Cancel |
Replaces all existing AI translations with newly generated results. |
Translating text and buttons manually or with AI
When you are in translation mode (you opened the target language of the page), you can either replace the default text content of a text part or button by writing the translated content or click “Translate with AI” on each block with textual content to translate all the text parts and buttons.
- Navigate to Showroom > Pages.
- Open the page you want to translate.
- Click the tab for the target language.
- Locate the section, block, or element labeled Needs translation.
- Select an action based on your translation scope: a. Translate manually just by typing the content for each text part. b. Translate with AI on text-block-level: Translates block by block on the page
If you think the content looks good without translating it but you want the “Needs translation” warning to disappear, it’s enough if you click on a text part - it will be marked as manually translated.
Block translation workflows
When you click Translate with AI within a text block, the system prompts you based on the translation status within that specific block:
| Block status | Required actions | System behavior |
|---|---|---|
| No text parts translated | None | Translates all elements in the block immediately and applies the Translated with AI badge. |
| Partially translated | • Translate • Retranslate all • Cancel |
Translate: Translates only elements labeled “Needs translation”. Retains manual translations of the text parts or buttons. Retranslate all: Overwrites all elements in the block with new AI translations. |
| All translated (includes manual translation) | • Retranslate all • Cancel |
Overwrites all manual and AI-translated elements in the block with new AI translations |
| All translated with AI | • Retranslate all • Cancel |
Replaces all existing AI translations in the block with newly generated results. |
Translating block links
You can also localize links. Any links in the translated text can be changed to lead to a different place than the original language (e.g. products filtered differently for that localization or a different external support page).
In translation mode, you can modify block links just like in regular content editing. Only existing links can be modified – if no link has been added in the default language (layout), the link tool is NOT available in translation mode for other languages.
Review the AI-generated translations
After generating the translations with AI, before clicking “Save” and/or “Publish” on the selected language, you can review the translations and choose to modify some of the text blocks. Just click on the block and edit - the moment you change the translation it will no longer be flagged as “AI translated”.
Previewing translations
Page preview allows you to see how the changes will look without the editor elements in place, also narrowing the elements to only show those visible towards the selected audience (Market x Pricelist). It can be useful to double-check the Page before publication.
Accessing Page preview
There are multiple ways of accessing the Page preview. You can open the preview right from the Pages listing by clicking the URI or the pill with the language code. Clicking on the whole row opens the edit mode.
 You can preview the Page in the selected language right away from the Page listing, by clicking on the pill with the selected language code. This redirects you to the preview in that language. Hovering on the language pill also informs you about the publication state of each language.
Preview can be also accessed from the editor view by clicking the 'Preview' button located on the right side of the top bar. When multiple languages are enabled for the Page, the preview opens with the language matching the language tab currently selected in the editor.
Segmentation preview
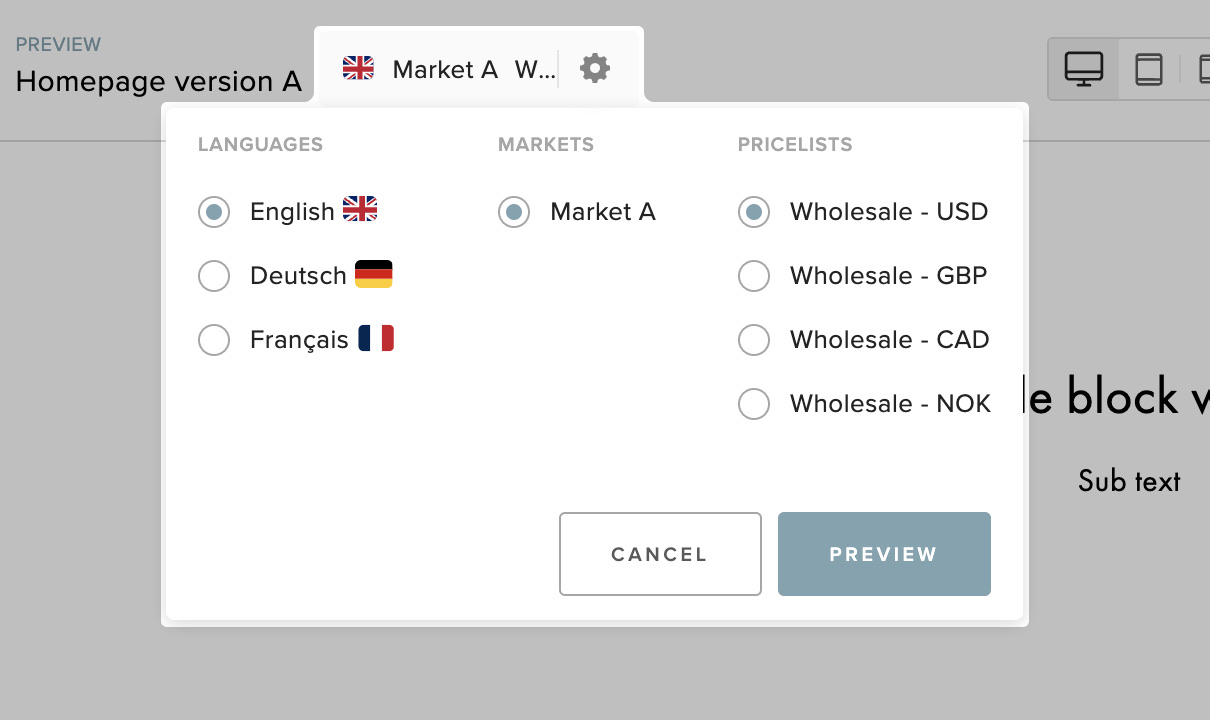
In the preview, you can make sure that proper content and products are visible to the customer depending on market and pricelist combination. To do so, click on the preview setup bar, which then displays the segmentation pop-up.

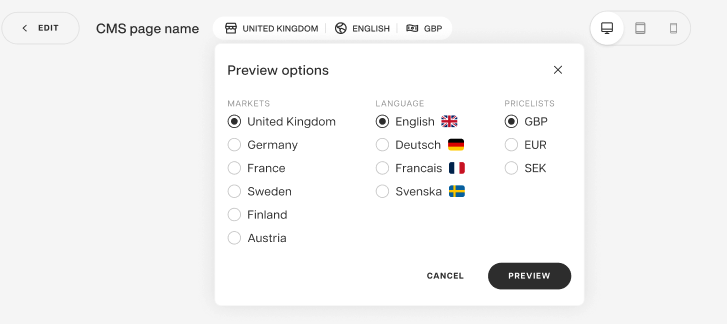
Here, you can select market (from markets assigned to the Page), pricelist, and language (from languages enabled for the Page) for the preview.
Device preview
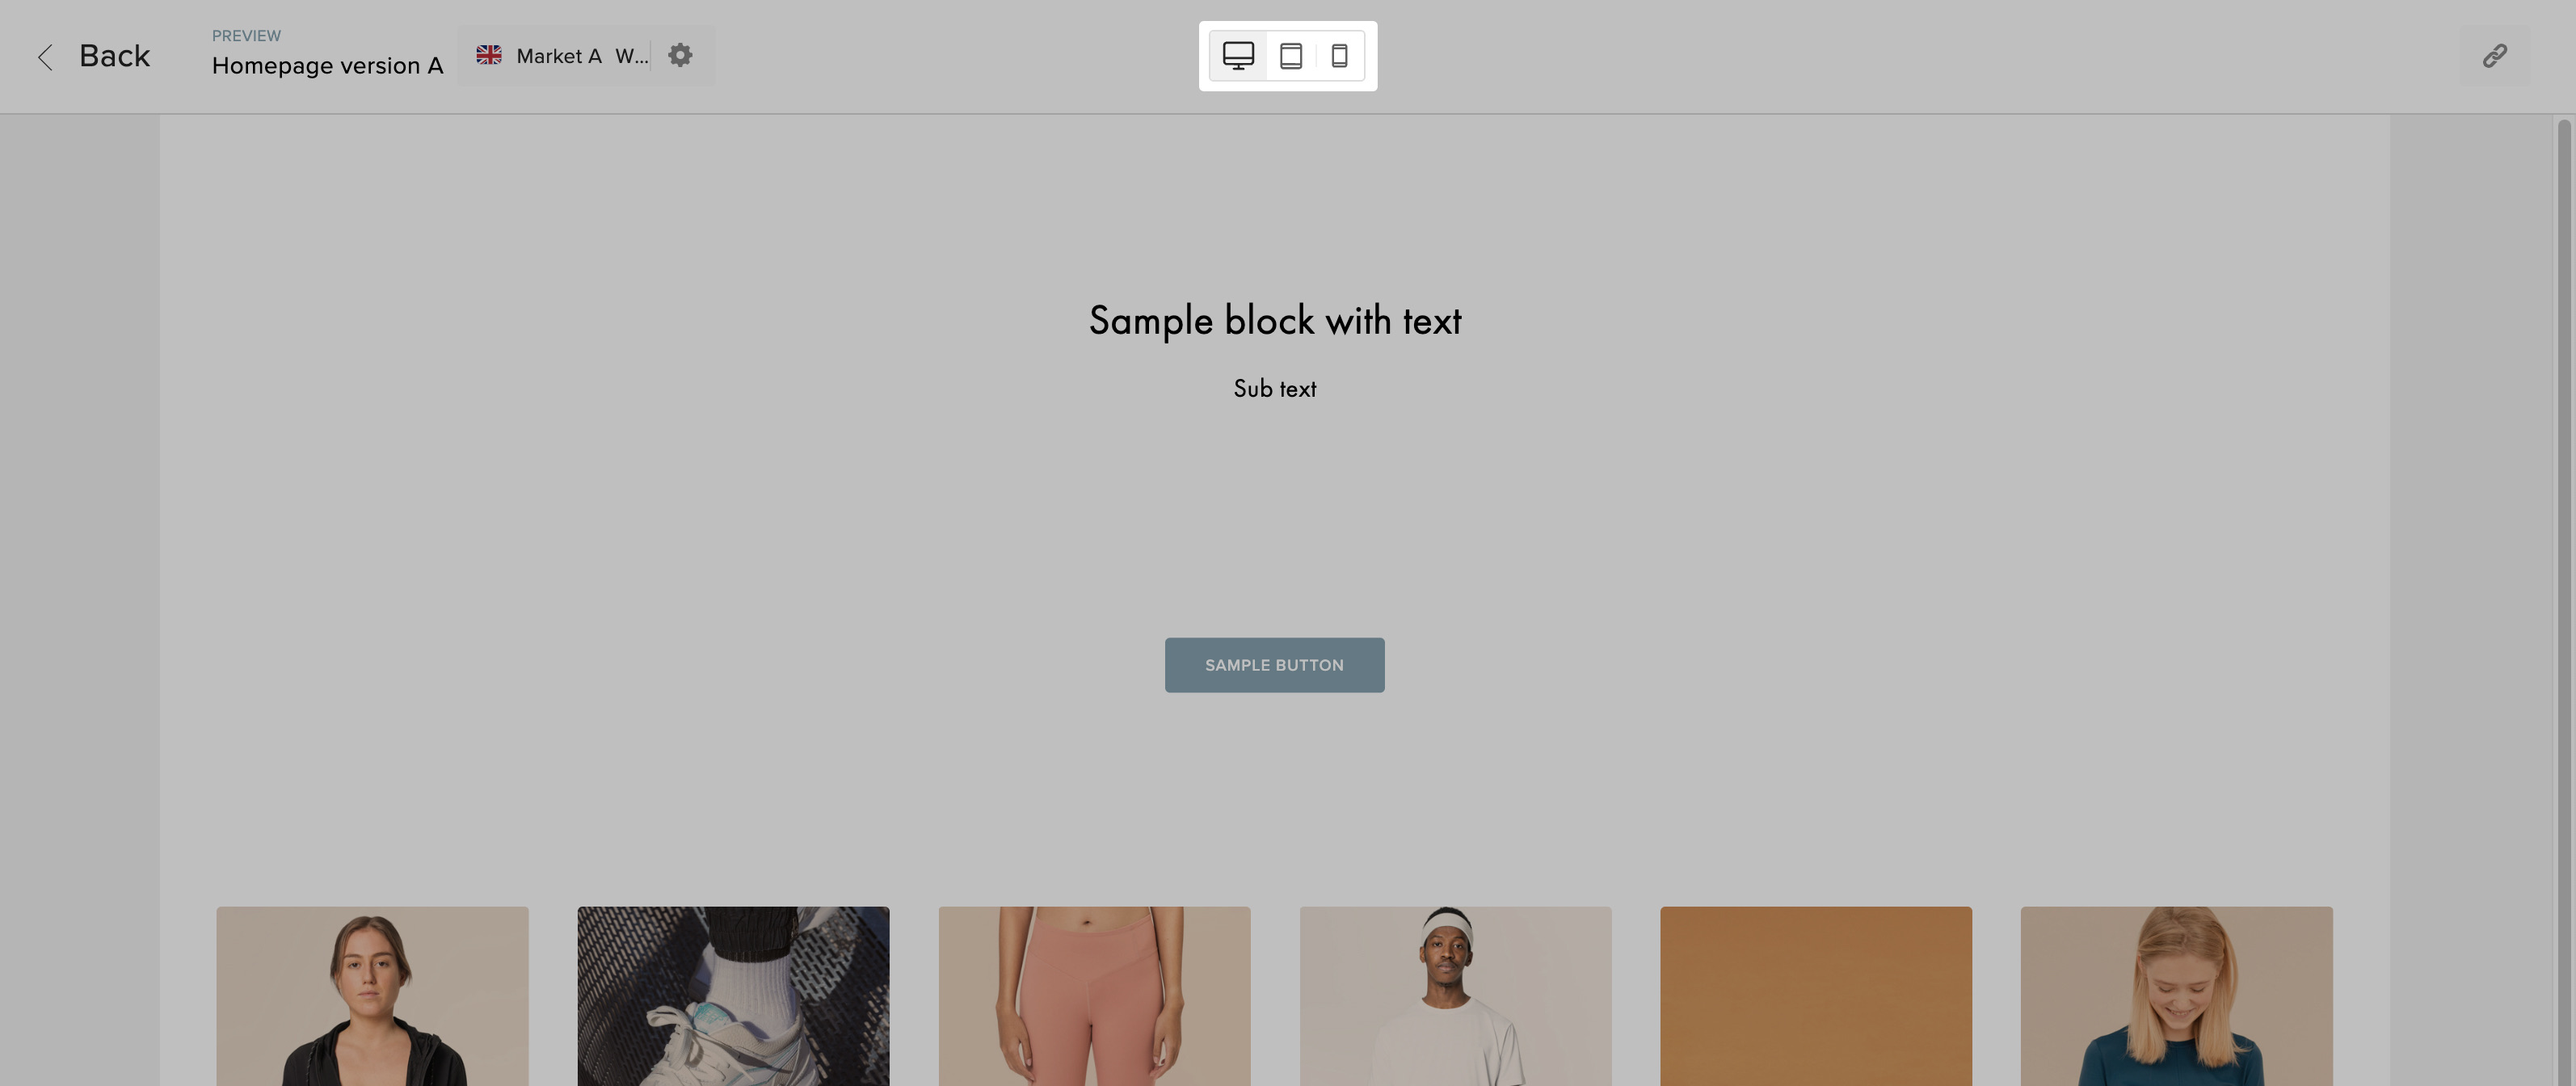
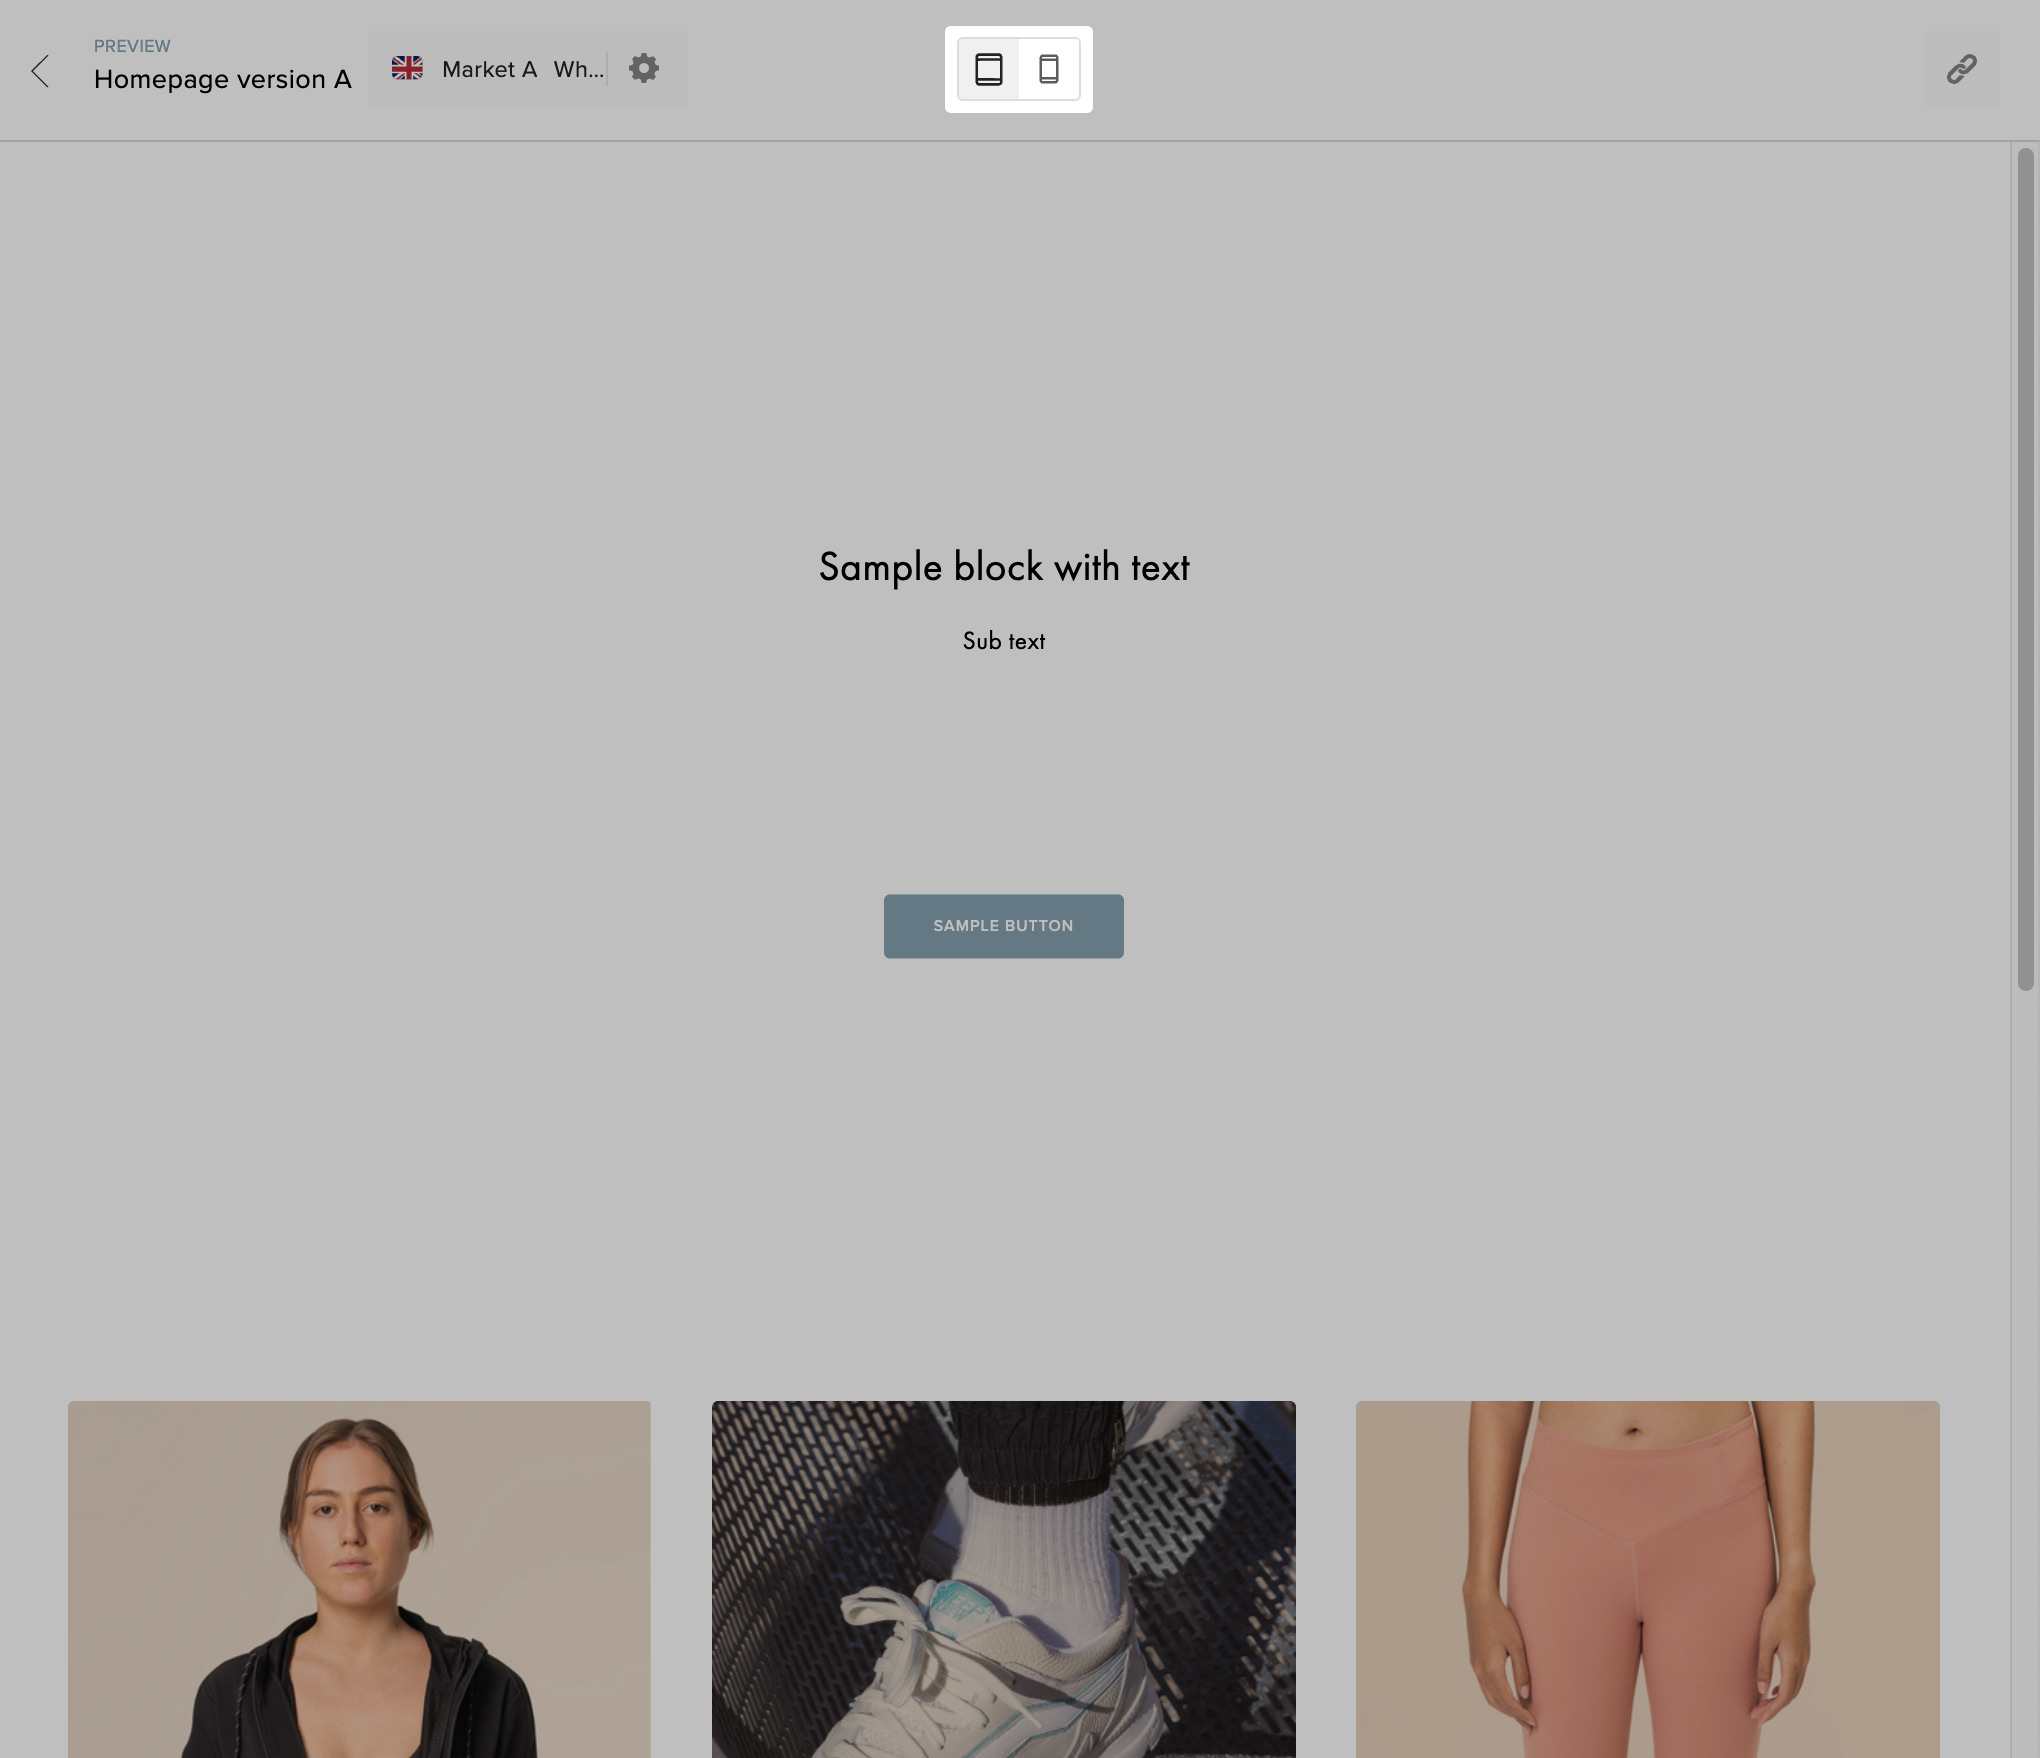
Preview mode allows you to see how the Page will look on different devices by selecting the desired device in the device switcher in the top bar.
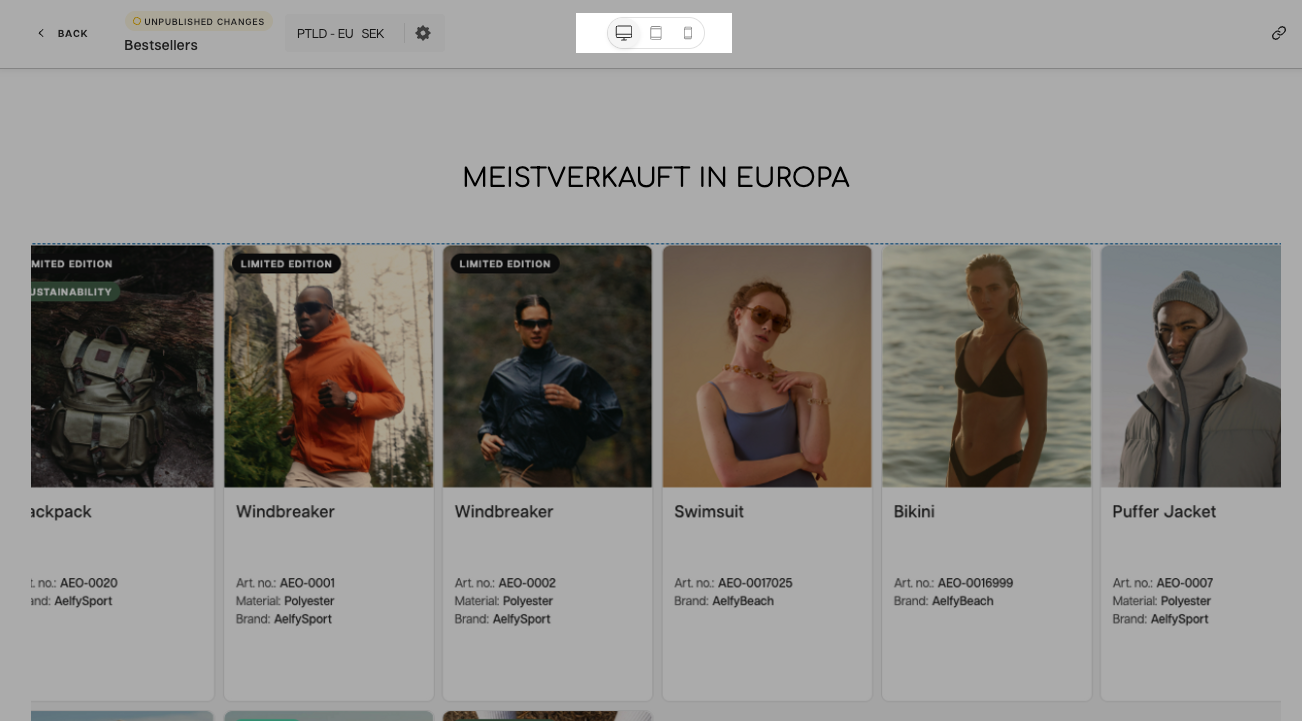
Depending on the available screen space, fewer options may be available in the device switcher. For example, when you are previewing the Page on a tablet device, the desktop will NOT be available in the switcher, as it is not possible to preview a wider version of the Page on a smaller screen without scaling it down.
Publishing a Page with translations
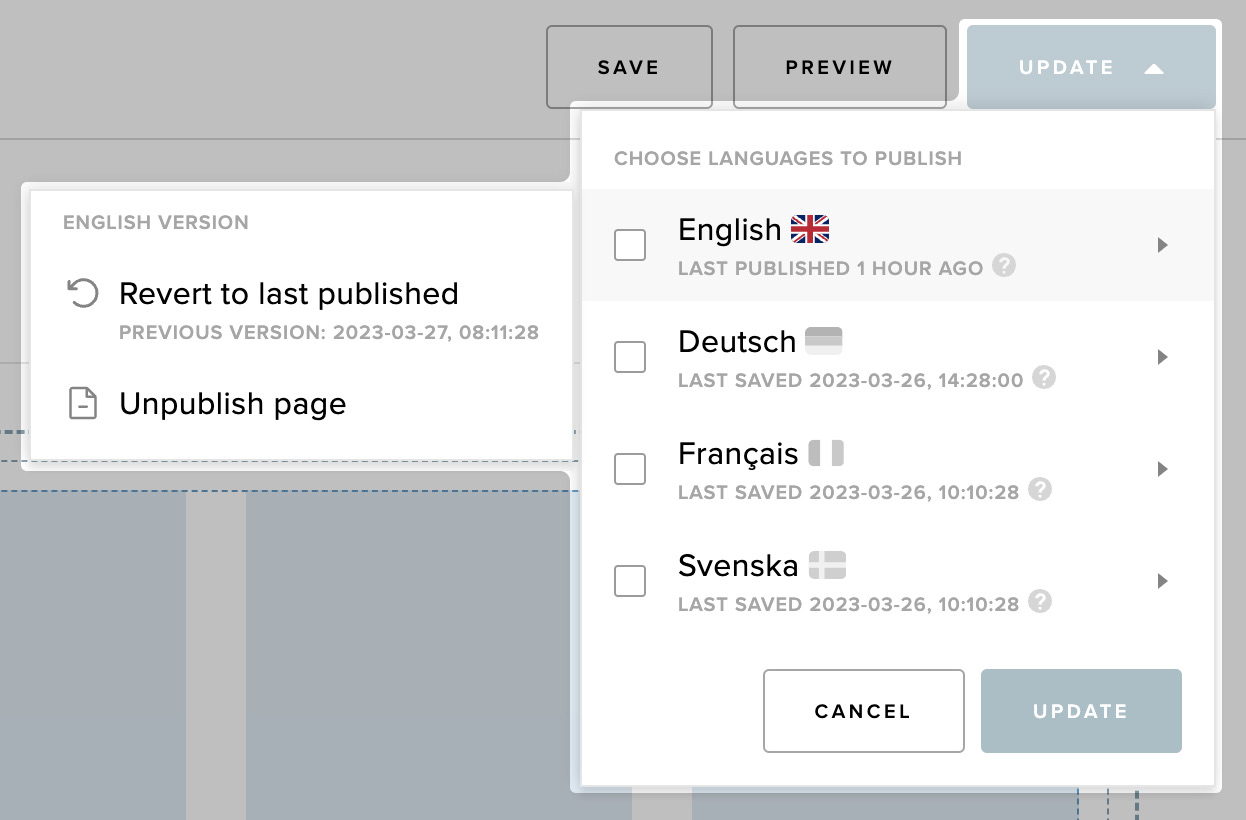
When multiple languages are selected for a Page, a more advanced publish drop-down is displayed (compared to single Page publication flow). From the drop-down you can publish, unpublish and revert changes for each language of the Page. Additionally, you can see when each language was last saved or published.
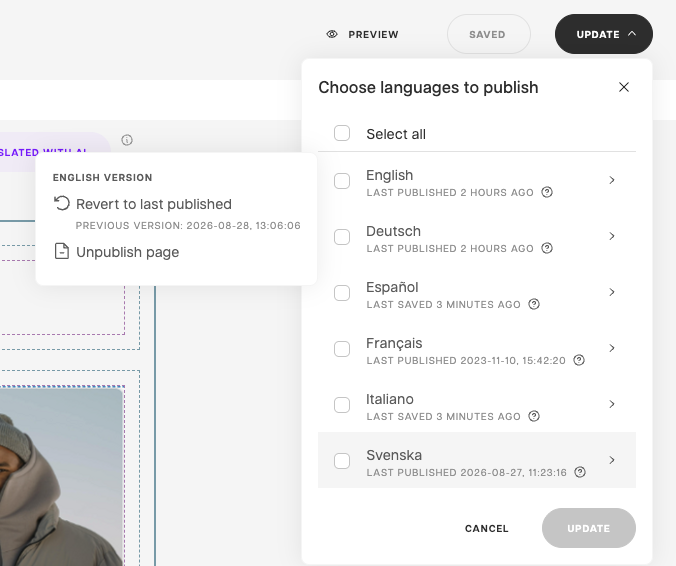
Some limitations apply in this flow:
- When you are publishing a Page for the first time, the default language must also be published, and it is preselected in the drop-down whenever you select an additional language.
- When changes are made to the layout, the default language must be published along with any additional language you selected.
- When reverting the default language to the last published version, additional languages are also reverted.
- When unpublishing the default language, additional languages are also unpublished.
Giving page access
When a Page has been published:
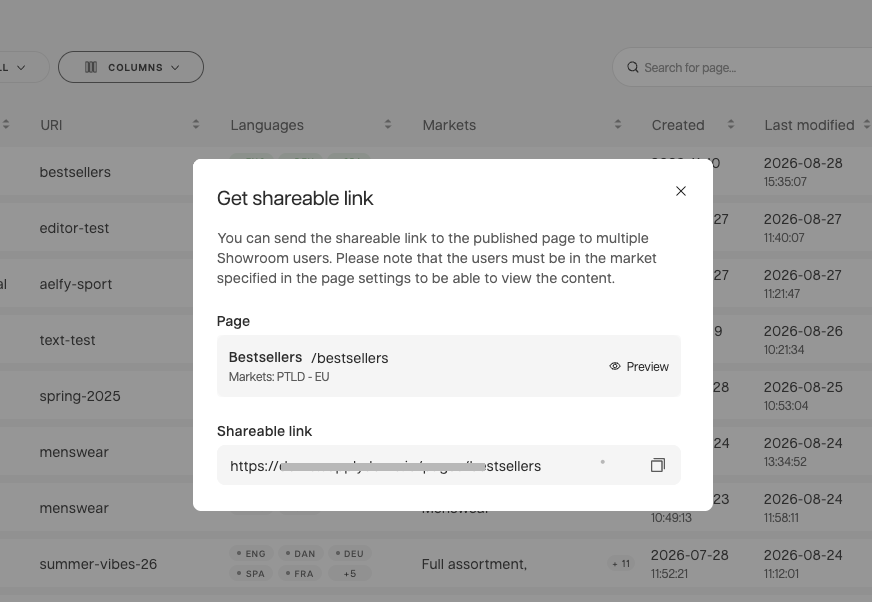
- A 'Get shareable link' button is displayed in the top bar of the 'Page Preview', allowing you to get a link to the Page that can be shared with customers.
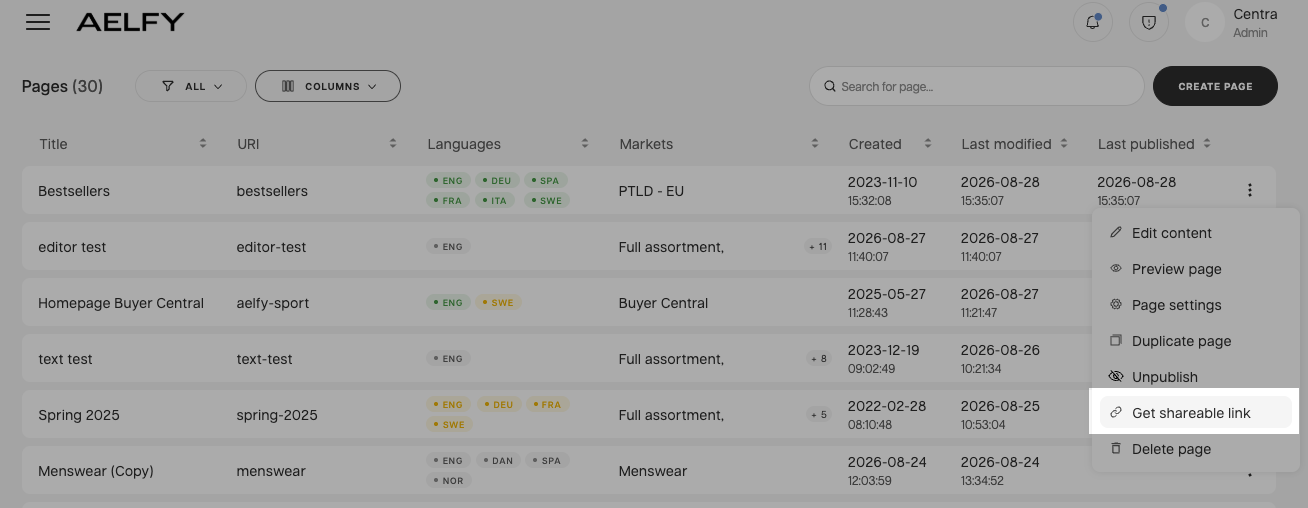
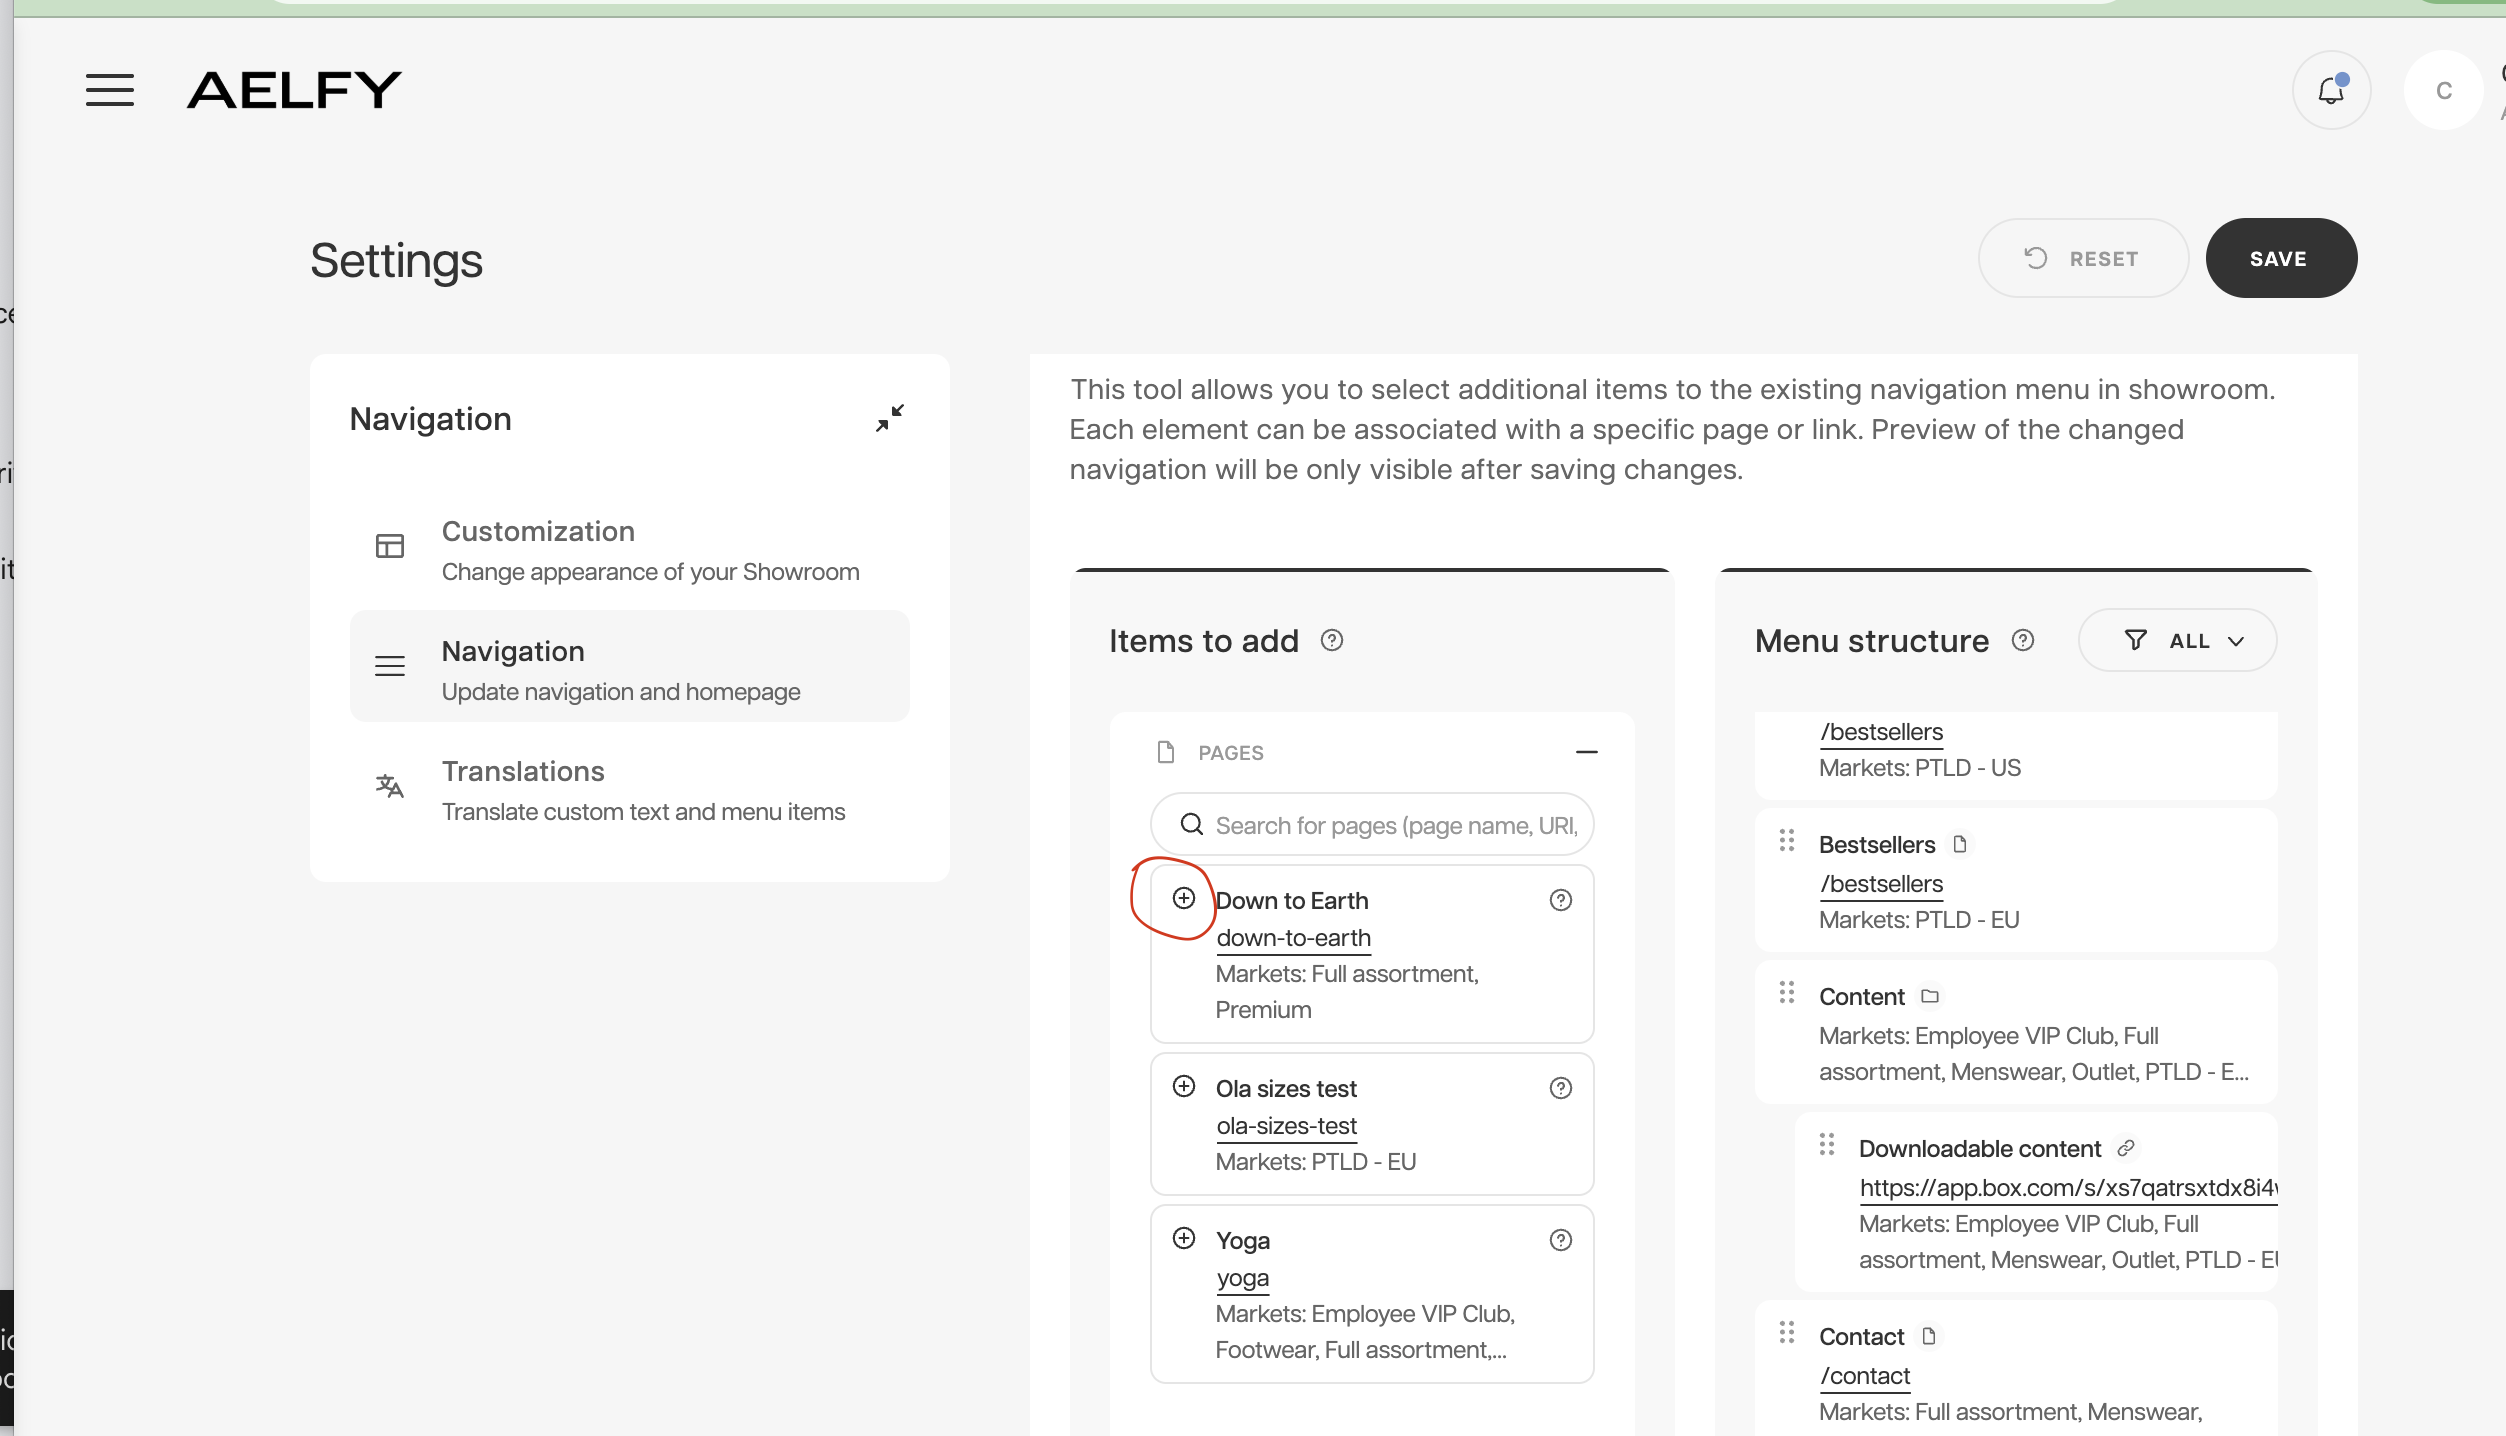
- Go to Showroom > Settings > Navigation. The newly published page will appear in “Items to add”. Click the plus sign to add the page to the Menu that your buyers see in the top bar when browsing Showroom.